How to convert an image to SVG on Mac
To convert an image to SVG on Mac, open it in Curvata, let the automatic trace finish, compare the vector with the original, and click Export SVG. The saved file contains vector paths, not a raster image hidden inside an SVG container.
This guide uses Curvata, a free image vectorizer for Mac. Your images are traced locally, with no account or cloud upload.
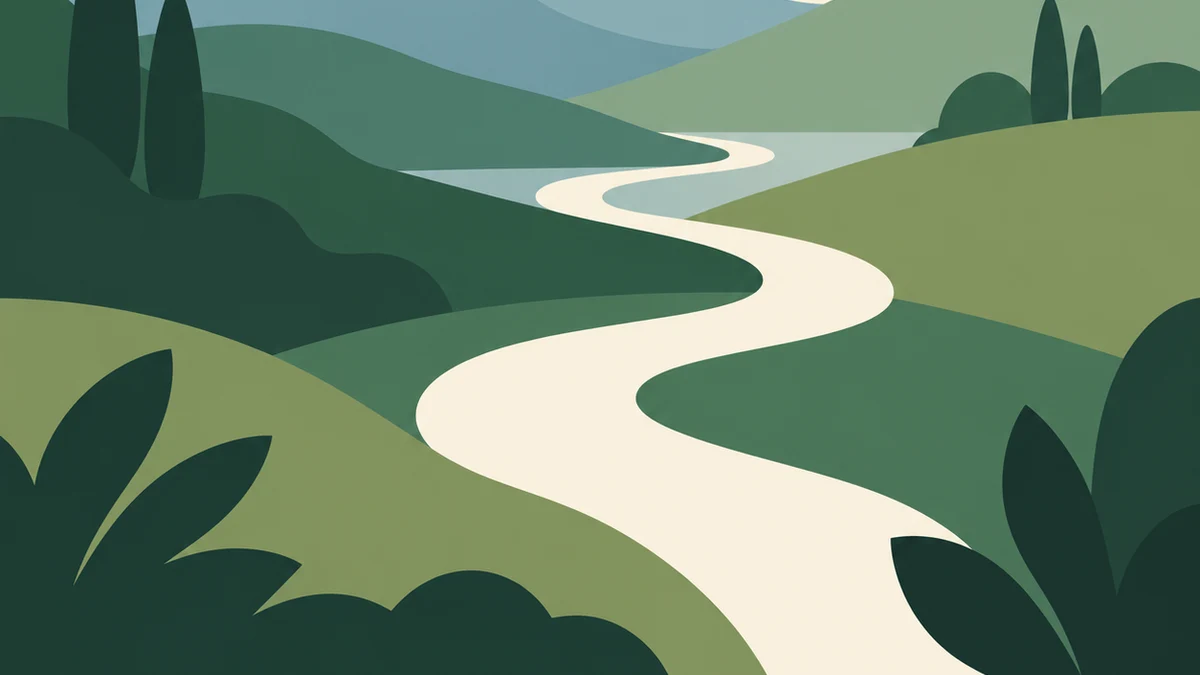
Choose an image that suits tracing
Logos, icons, lettering, and drawings are useful starting points because their boundaries are easy to recognize. PNG, JPG, JPEG, WebP, TIFF, and GIF are supported. Curvata uses the first frame of an animated GIF. HEIC and PDF are not direct inputs; export a supported raster copy in another app first.
Use the best source you have. A tiny screenshot cannot supply the detail of an original design file. Enlarging it before tracing adds pixels without recovering the missing shapes. If you already have the original SVG or another vector source, use that instead of tracing a preview.
Curvata accepts files up to 40 MB, with a 64-megapixel decode limit. Most images are processed at up to 2048 pixels on the longest side. A large source can therefore lose very small features during processing. See how to prepare artwork for vectorization for practical source choices.
Convert the image in Curvata
- Open the image. Click Open image, press ⌘O, or drag the file into the workspace. For copied image pixels, use Paste image or ⌘V.
- Wait for the trace. Curvata processes the image automatically. You can cancel a long conversion; no partial result is exported.
- Compare the result. Choose Compare for a side-by-side view. Scroll or pinch to zoom, drag to pan, and use Fit to see the whole image again.
- Review the palette. Keep Automatic or choose a quick color preset. After changing the palette, click Update vector.
- Export the SVG. Click Export SVG, or press ⌘⇧S, and choose a file name and destination in the Mac save dialog.
Export is unavailable while changes are pending. Wait for the updated trace so the file you save matches the result you are reviewing. Keep the original raster file as a separate source.
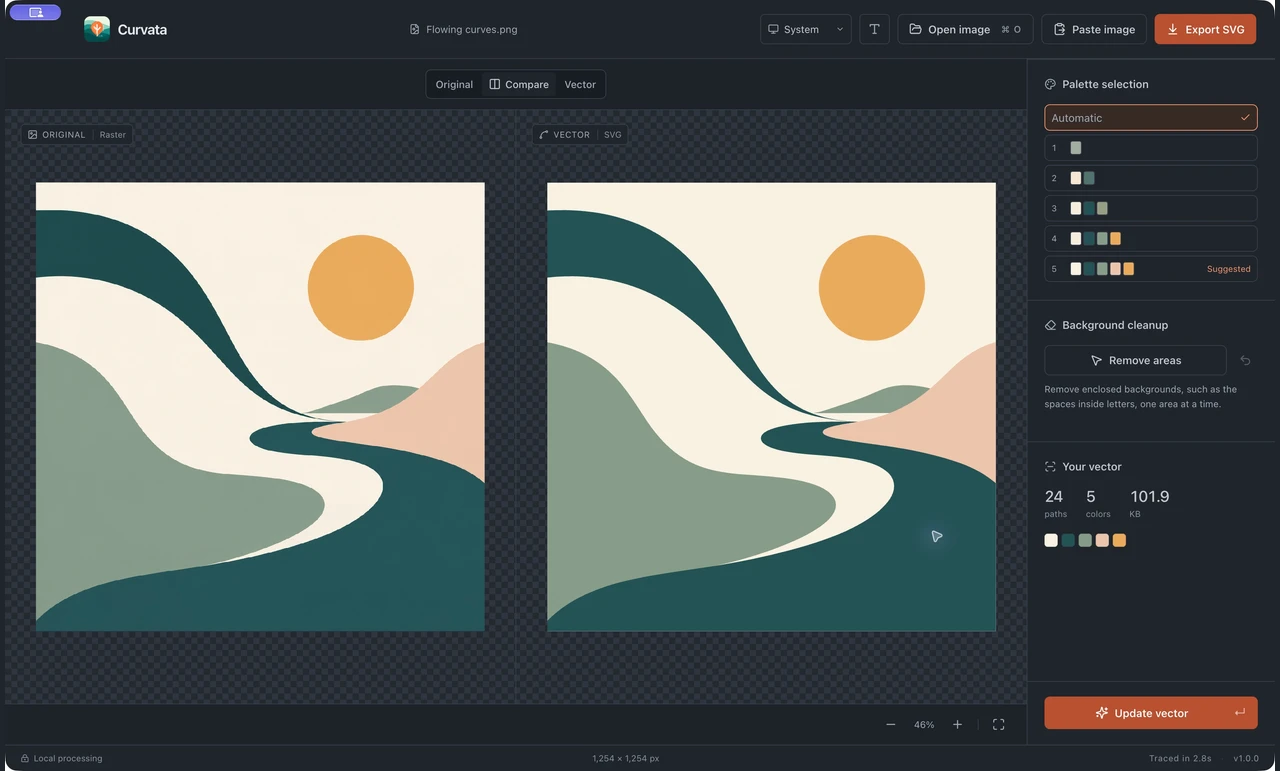
Check the details before exporting
Start with the overall silhouette, then check small lettering, gaps, thin lines, and the junctions between colors. View the image at a useful zoom and at the size where it will be used. A smooth-looking boundary can still have a misplaced corner or a closed gap.
A smaller palette may make a simple mark easier to edit, but it can also merge an accent color with its neighbor. Automatic is the sensible first comparison. The palette guide explains how to evaluate a simpler result without assuming fewer colors are always better.
The preview’s checkerboard indicates transparent space. If a solid background is still part of the artwork, use Remove areas deliberately. Changing how a preview looks is not the same as removing a shape from the exported file.
Use the exported SVG
Open the file in a vector editor to inspect its objects. The outer artwork group can be ungrouped to reach individual regions. Letter shapes are paths rather than live text, so changing a word requires a separate text object or redrawing those shapes.
SVG describes geometry that can be displayed at different sizes. A trace still approximates the source; it does not recreate details the source never contained. Photos and intricate gradients may produce complex files. A vector export is also not guaranteed to be smaller than its raster source.
Follow the exported SVG editing guide before rearranging groups or gradient shapes. Keep a copy of the untouched SVG so you can return to the original trace.
Common questions
Does changing the extension from PNG to SVG work?
No. Renaming a file does not turn its pixels into paths. Curvata traces the image and writes an SVG containing actual vector geometry.
Can I convert several files at once?
The current workflow processes one image at a time. Finish and export the current result before opening the next file.
Does tracing make a blurry logo perfect?
No. It estimates shapes from visible evidence. For an especially small or damaged logo, obtain a better source or redraw important details in a vector editor.
Explore all Curvata guides or visit Curvata for Mac to learn more about the app.