How to prepare an image for vectorization
For a better vector trace, start with the clearest original image, remove unrelated margins in another editor if necessary, and preserve important edges and small details. Curvata traces the pixels it receives; extra resolution or aggressive cleanup cannot recover information that is already missing.
This guide uses Curvata, a free image vectorizer for Mac. Your images are traced locally, with no account or cloud upload.
Look for an original before making a new copy
Ask whether a vector version already exists. A designer’s original SVG, EPS, or design document is usually more useful than a trace of its preview. If the artwork is only available as raster, choose the clearest original export rather than a small social-media thumbnail.
PNG can be useful for flat graphics with sharp edges and transparency. JPEG is common for photos and scans but may add compression artifacts around lettering and high-contrast shapes. Format choice alone does not repair a blurry or badly cropped source.
Curvata accepts PNG, JPG, JPEG, WebP, TIFF, and GIF. The first GIF frame is used. Export HEIC or PDF as a supported raster format in another app before opening it. Avoid unnecessarily converting the same file through several lossy formats.
Prepare the source without erasing useful detail
- Keep the original. Make a separate working copy for any preparation.
- Inspect the edges. Check focus, compression noise, faint lines, and small letters.
- Remove unrelated margins if appropriate. Crop in another image editor so the important artwork occupies a useful part of the image.
- Correct capture problems cautiously. Straighten a scan or improve uneven lighting in another editor, while checking that fine marks and gaps remain.
- Keep a supported format. Save a clear PNG, JPEG, WebP, TIFF, or GIF source within the app’s size limits.
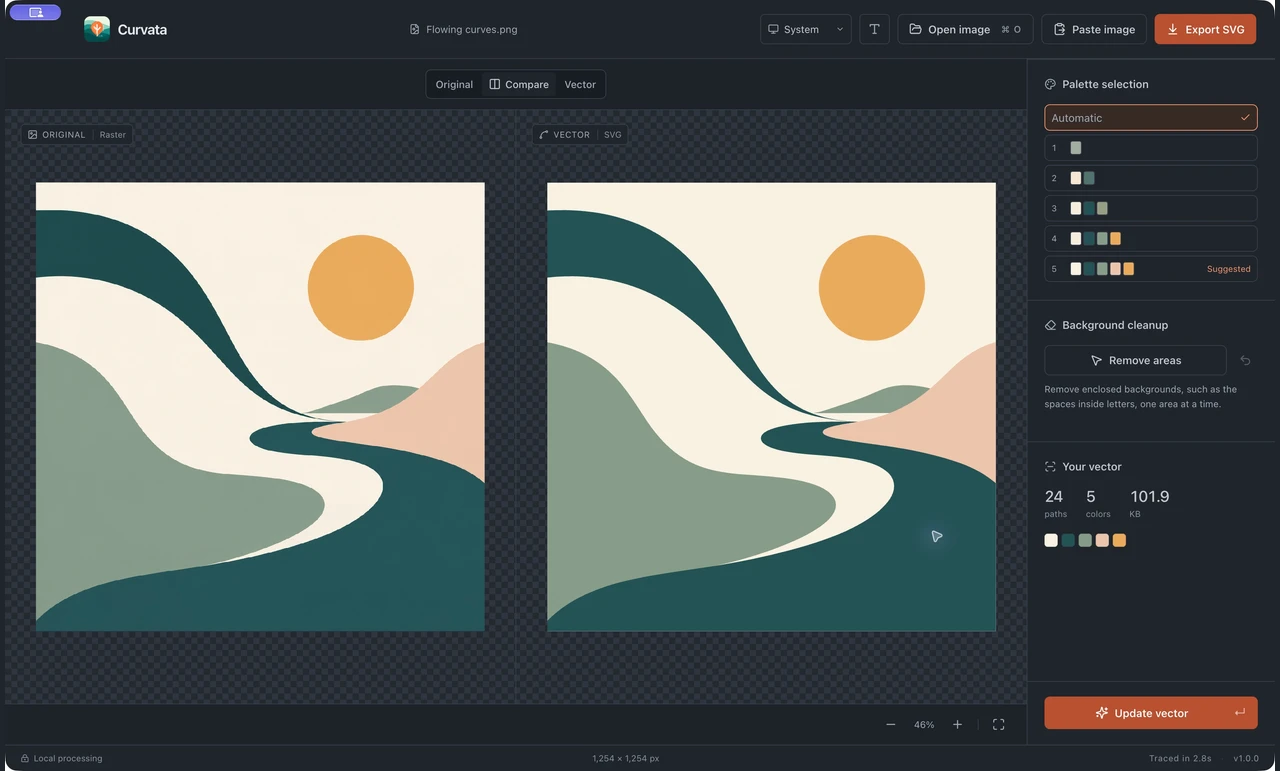
- Trace in Curvata. Open the prepared copy and compare the result before deciding the preparation helped.
Curvata’s current interface is focused on tracing. It does not provide cropping, exposure adjustment, drawing tools, or editable nodes.
Choose enough resolution for the important features
A large source helps only when it contains useful detail. Upscaling a tiny logo produces more pixels without recovering its original edges. Prefer a better original over a mathematically enlarged copy.
Curvata caps input files at 40 MB and decoded images at 64 megapixels. Ordinary artwork is processed at up to 2048 pixels on the longest side. The saved SVG keeps the original dimensions with a processing-size viewBox, but very small source details can still be lost in downsampling.
Confident paper-and-ink technical plates can retain a longer side up to 4096 pixels while staying within the same overall processing-pixel budget. That does not guarantee every label survives. Check the actual trace and treat critical symbols or measurements as details requiring review.
Match the preparation to the artwork
For a logo, prioritize the silhouette, letter counters, and intended colors. Cropping away a large empty margin can help the mark occupy more useful pixels. Do not remove a background that belongs to the identity. Use the logo guide for the review sequence.
For a scan, prioritize even lighting, readable strokes, and separation between paper and ink. Hard contrast adjustments can erase faint pencil lines or join nearby marks. Follow the drawing guide before treating every gray region as unwanted paper.
For a photo, decide whether a traced illustration is the desired outcome. Photographic texture and soft lighting are often better represented by raster pixels. The raster and vector guide explains that choice.
Common questions
Should I always increase contrast first?
No. Stronger contrast can help separate ink from paper, but it can also erase shading or close gaps. Compare a prepared copy with the original and keep the version that preserves the details you need.
Should I enlarge a small image before tracing?
Enlargement does not restore missing information. Find a better original if possible, and expect manual correction for important degraded details.
Can preparation guarantee a perfect trace?
No. It improves the evidence available to the tracer. Review the result and correct essential details in a vector editor when necessary.
Explore all Curvata guides or visit Curvata for Mac to learn more about the app.