How to convert PNG to SVG on Mac
To convert PNG to SVG on Mac, open the PNG in Curvata, review the automatic vector trace, and choose Export SVG. Check transparent edges and any retained background before saving, especially for logos and icons.
This guide uses Curvata, a free image vectorizer for Mac. Your images are traced locally, with no account or cloud upload.

Understand what a PNG contains
A PNG stores pixels. It may have an opaque background, fully transparent areas, or partially transparent edges. Its lossless format avoids adding JPEG-style compression artifacts, but that does not make every PNG a clean tracing source. A blurry screenshot saved as PNG is still a blurry screenshot.
PNG is often a good choice for a small logo or illustration because it can keep sharp color boundaries and transparency. Use the original export where possible. A raster copy downloaded from a page may be smaller than the designer’s original artwork, and a screenshot may already have a background baked in.
Check the image in a viewer before converting it. A checkerboard can be part of the actual pixels rather than a transparency indicator. If the squares move with the image or appear in a saved copy on a white page, they may be painted into the file. Tracing those squares will create unwanted geometry.
Trace the PNG and export SVG
- Open the PNG. Use Open image or ⌘O, then select the file. Drag and drop is also available.
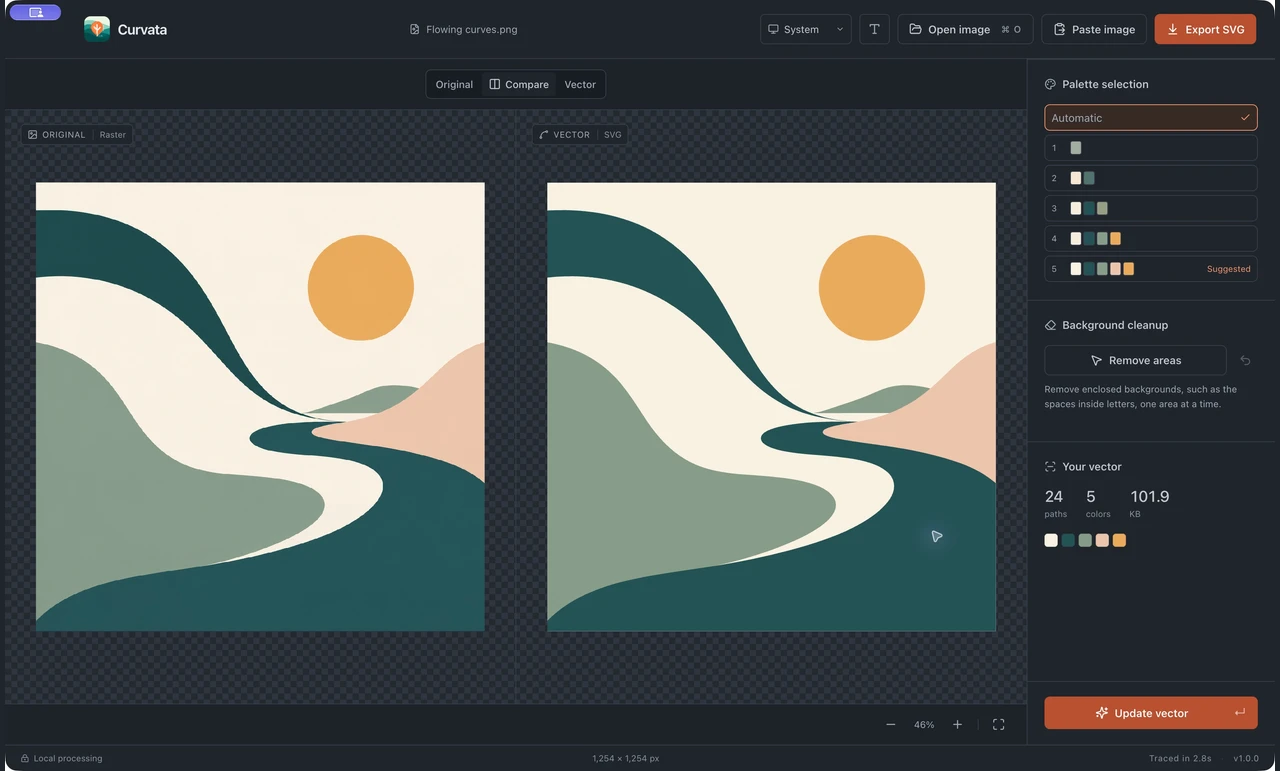
- Let Automatic finish. Curvata traces the image as soon as it opens. Keep the initial result as your baseline.
- Choose Compare. Examine the silhouette and check small gaps. Zoom into soft edges rather than judging only the fitted view.
- Try a quick palette if needed. A limited palette can suit flat artwork. Click Update vector after selecting a preset.
- Check the background. Keep intentional fills; remove unwanted regions with Remove areas only after checking what each selection changes.
- Export SVG. Choose a destination and save the vector as a new file. Keep the PNG separately.
The workflow is local and requires no account. If you need an introduction to the controls, see the complete image-to-SVG workflow.
Check transparency and soft edges
Existing transparent areas can remain transparent in the trace. Semitransparent pixels and feathered boundaries are more complicated: vectorization must approximate how opacity and color change across them. Look at pale halos, shadows, and the boundary around a small icon.
Do not remove a white region just because it looks like a background. It may be an intentional highlight or an enclosed part of the logo. Test one region at a time and review the result. Undo and clear controls let you restore background selections while the image remains open.
If a flat background needs to disappear, follow the background area guide. This is color-region cleanup, not a tool that automatically identifies a photographic subject.
Choose PNG or SVG for the final task
SVG is useful when you need scalable shapes, editable fills, or artwork that remains crisp at different display sizes. PNG remains useful for photographic effects, complex textures, and apps or upload forms that do not accept SVG.
Converting a texture-heavy PNG can produce many shapes. That may make editing harder and increase file size. Do not choose SVG solely because it sounds like a higher-quality format. Decide whether the destination benefits from geometry or needs a predictable pixel image.
If you plan to recolor individual parts, open the exported file in a vector editor and inspect its groups. Transparent gaps should remain gaps after importing. Use the editing guide to understand grouped regions and traced lettering.
Common questions
Is a transparent PNG already a vector?
No. Transparency and vector geometry are separate properties. A transparent PNG still stores a fixed grid of pixels.
Can I recover the original logo paths from PNG?
Tracing estimates new paths from the raster. It cannot recover the exact original control points or the design’s original layers.
Will the SVG be smaller?
Sometimes, particularly for simple artwork. Complex details, transparency, and shading can make the SVG larger. Check the file you actually export.
Explore all Curvata guides or visit Curvata for Mac to learn more about the app.